Throughout This Page
You can jump to the specified sections by clicking on these titles.
Overview
This document will walk you through the process of installing and overseeing sales channels, courier integrations, and printer options.
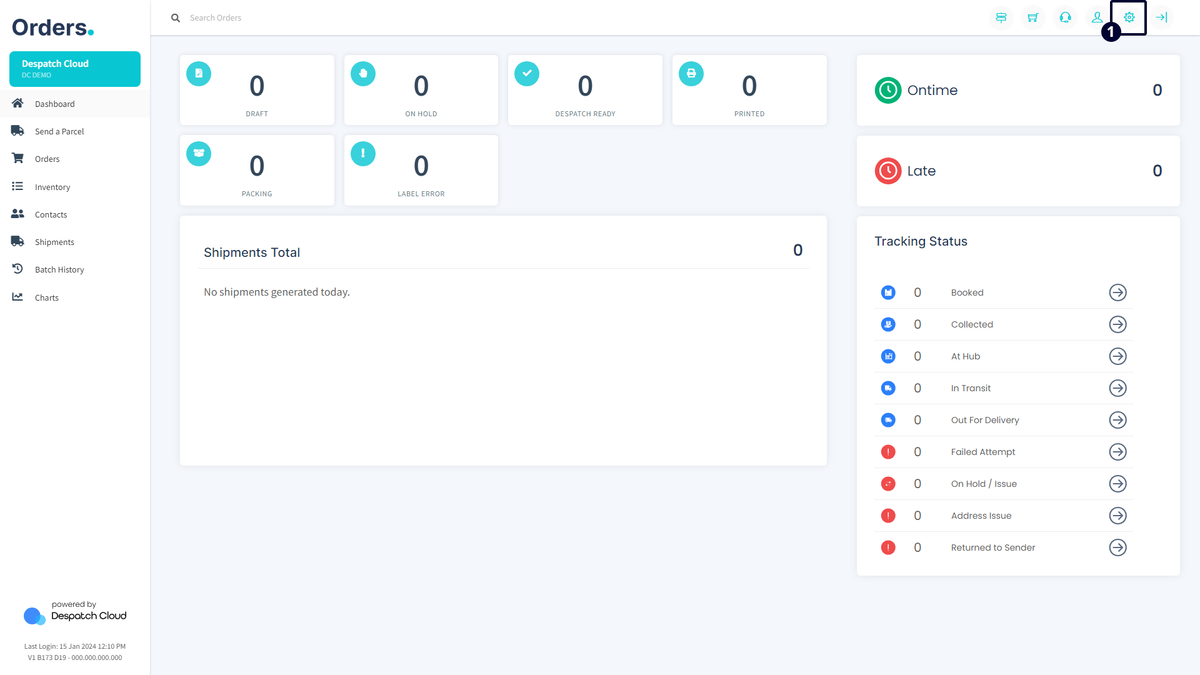
Accessing Integration Settings
To reach the Integrations, select "Settings" from the top right corner of the screen, as indicated in the highlighted section in the image below. Click the corresponding buttons to navigate the specific sections mentioned in this document.
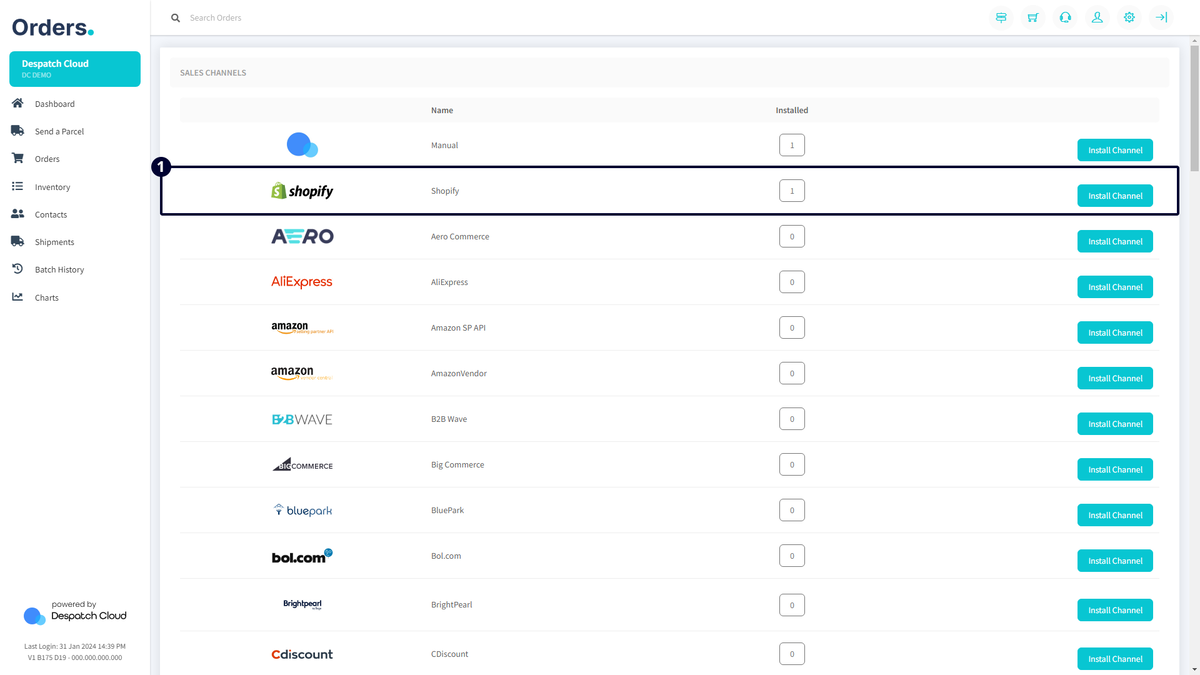
Sales Channels
Through the sales channels feature, you can effortlessly install and integrate your platform with various channels of your choice. Our continually updated list of sales channel integrations is represented with brand logos on the left and a numerical value at the centre, indicating each platform's installed channels.
Click the "Install Channel" button next to the numerical value to add a new sales channel. This action opens a window with input fields for specific channel information. Note that each channel requires different details during installation.
You can find the installation guide for each specific channel on this page.
Once a new channel is created, the "Installed" number beside the logo increases. Clicking on this number leads to a page where you can manage the channel settings. An active checkmark or red cross is displayed for each instance, along with the "Edit Channel" and "Delete Channel" buttons.
Clicking the "Edit Channel" button opens a page where you can customize the channel, including:
- Overview:
- Active: Enable or turn off the channel.
- Invoice/Packing Template: Set a default printing template for invoices or packing slips.
- Auto Print Invoice at Terminal: Automatically print invoices during order dispatch.
- Credentials: Edit API credentials and specific integration settings.
- Brand:
- Company Logo: Set a custom logo for the channel.
- Company Return Address: Select a custom return address for orders from this channel.
- Commercial Invoice Details:
- Commercial Invoice Template: Choose the invoice template for this channel.
- Sender Address: Select a custom address for invoices.
- Despatch Emails:
- Active: Activate or turn off automatic emails.
- Email From Name: Set the sender's name.
- Email Subject: Define the email subject.
- Email Template: Select from the created email templates for this sales channel.
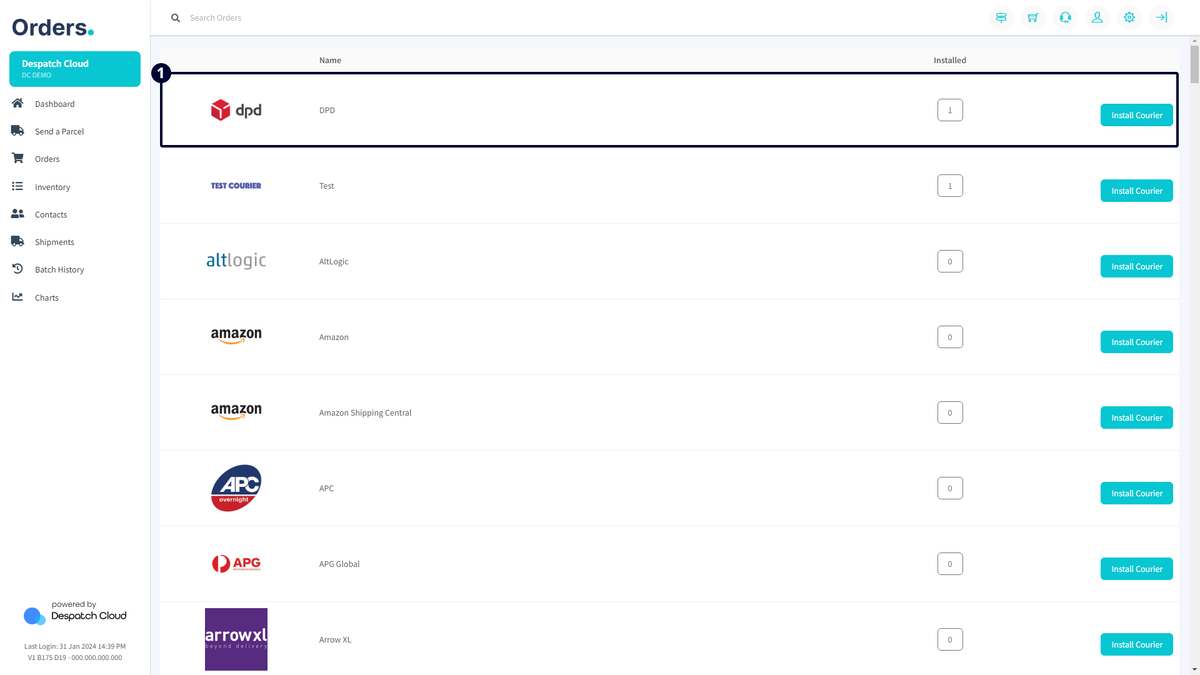
Courier Integrations
Here, you'll find a list of our courier integrations, with ongoing additions to the lineup. A brand logo on the left represents each courier, and the middle of the table displays the count of installed couriers for that specific platform.
To install a new courier integration, click the "Install Courier" button adjacent to the count. A window will appear with input fields where you'll input the required information for the courier.
During courier integration installation, you'll encounter a screen with various input fields, including a "Test Account" option allowing connection testing without order dispatch. It is helpful for debugging.
The "Name" field uniquely identifies the courier integration in Orders. The "Company Name" field is automatically filled. Any username and password can be entered for test couriers, while other couriers require API keys and logins from their developer platforms.
Like sales channels, the "Installed" number next to the courier logo increases once the courier integration is created. Clicking the number allows you to manage courier integration settings. You can add new accounts and connections or edit existing ones.
Clicking the "Edit" button takes you to the connection details, structured as follows:
- General:
- Active: Enable or disable the courier.
- Collection Time: Set a custom collection time for this courier.
- Service List:
- View all available services for the selected courier integration.
- Enable/disable services and edit/delete their details.
- Expanding a service displays its options, allowing configuration as needed.
- Click "Save" to apply changes.
- Add Services:
- Use this tab to add and configure courier services.
- Choose from the courier's service list or add manual services.
- Select a service, click "Add Preset," and repeat for each required service.
- If the needed service isn't in the dropdown, manually add and edit details, following the configuration page from the "Service List."
The configuration input fields for the courier integration are tailored to the specific requirements of each courier. To assist you in completing these fields accurately, hover your cursor over the input boxes to receive information on default values and available options. This guidance ensures that you provide the necessary information for the correct courier integration.
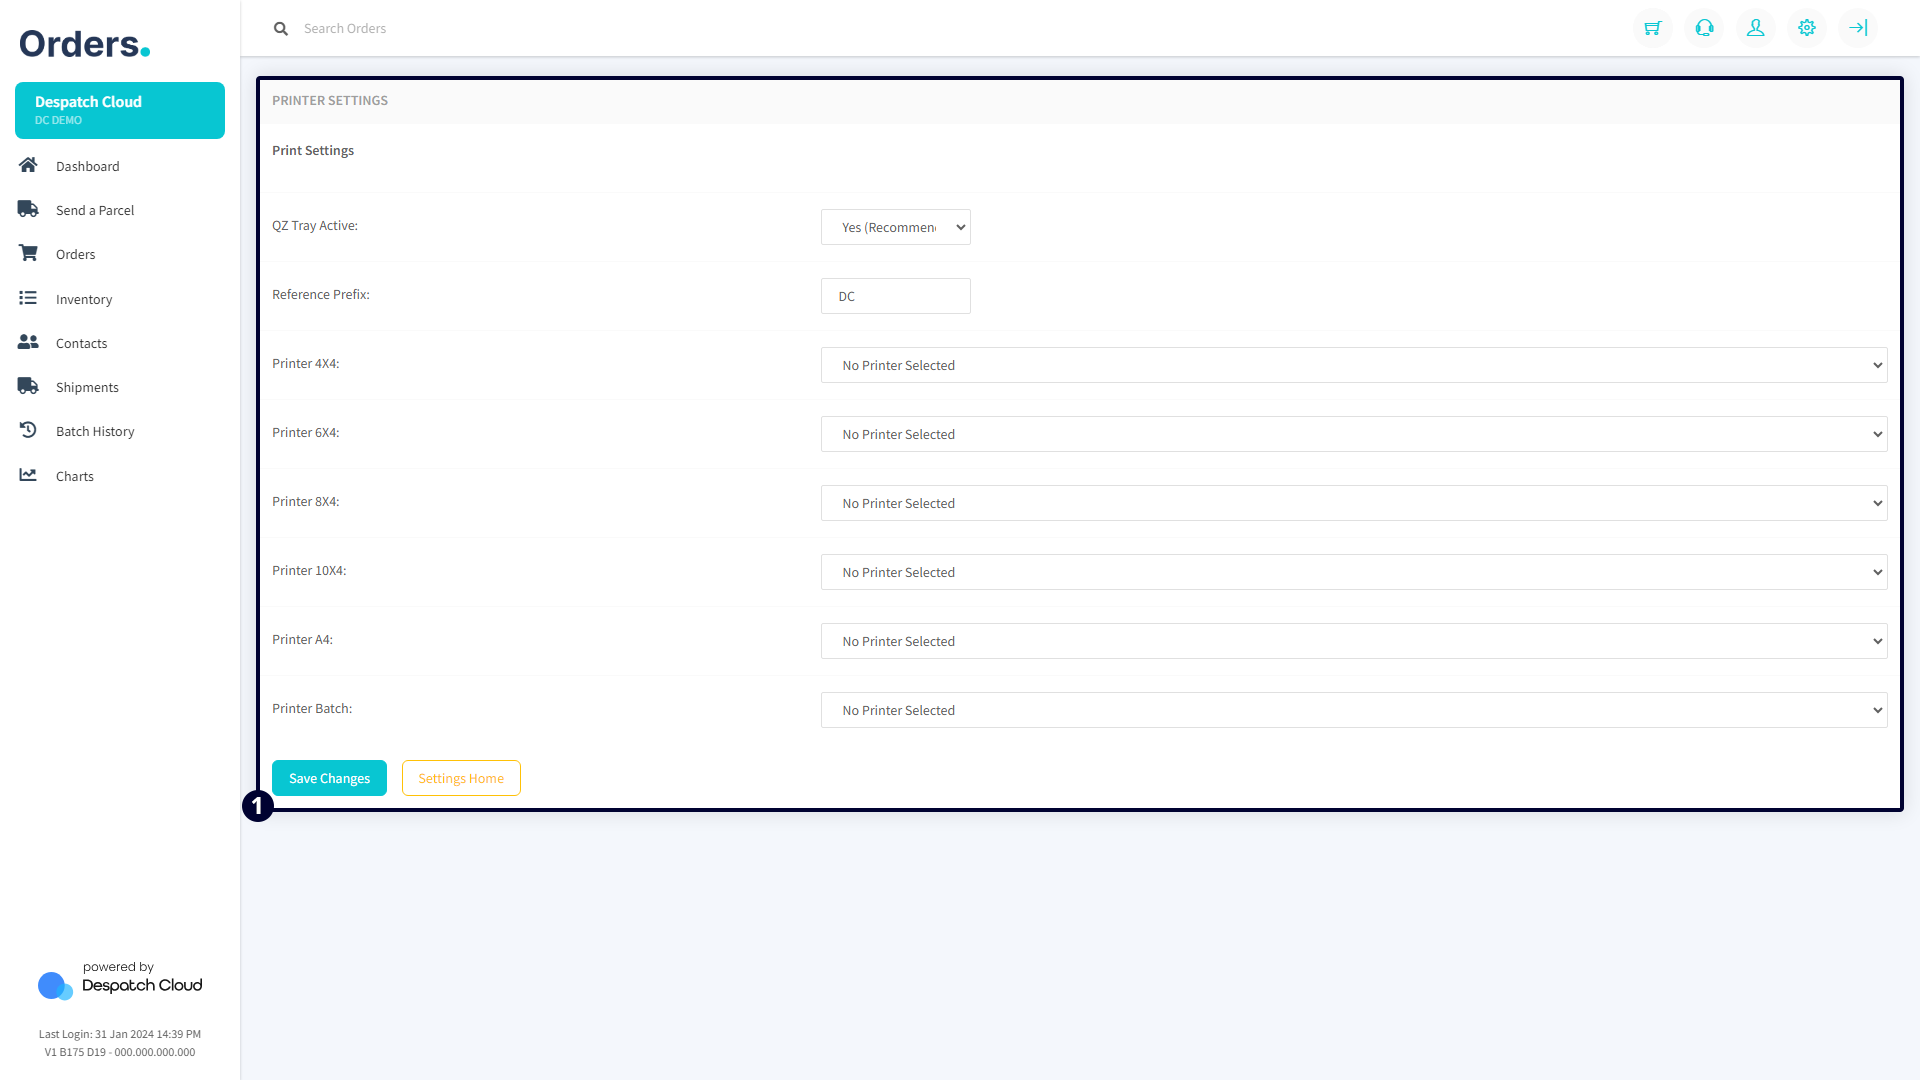
Printer
Printer settings enable you to set up and configure the printers installed on your computer. Installing QZ Tray is recommended to leverage silent printing fully within our system. Silent printing involves sending print jobs to a printer without displaying a print dialogue or requiring user interaction, making it ideal for automated or batch printing scenarios. By configuring settings in this menu, you can establish preferences that will be consistently applied each time you print labels.
The following settings are explained below:
- QZ Tray Active: Enables or turns off the utilization of QZ Tray for printing. Refer to the provided documentation for QZ Tray installation.
- Reference Prefix: Allows the inclusion of prefixes and phrases during printing.
- Printer Sizes: Permits the assignment of different printers for each label size.