Amazon SP API Setup Guide
1. Start by opening your Orders account and logging in to your dashboard. Look for the "Settings" icon on the top-right corner of the page. Click on it to access the Sales Channels section.


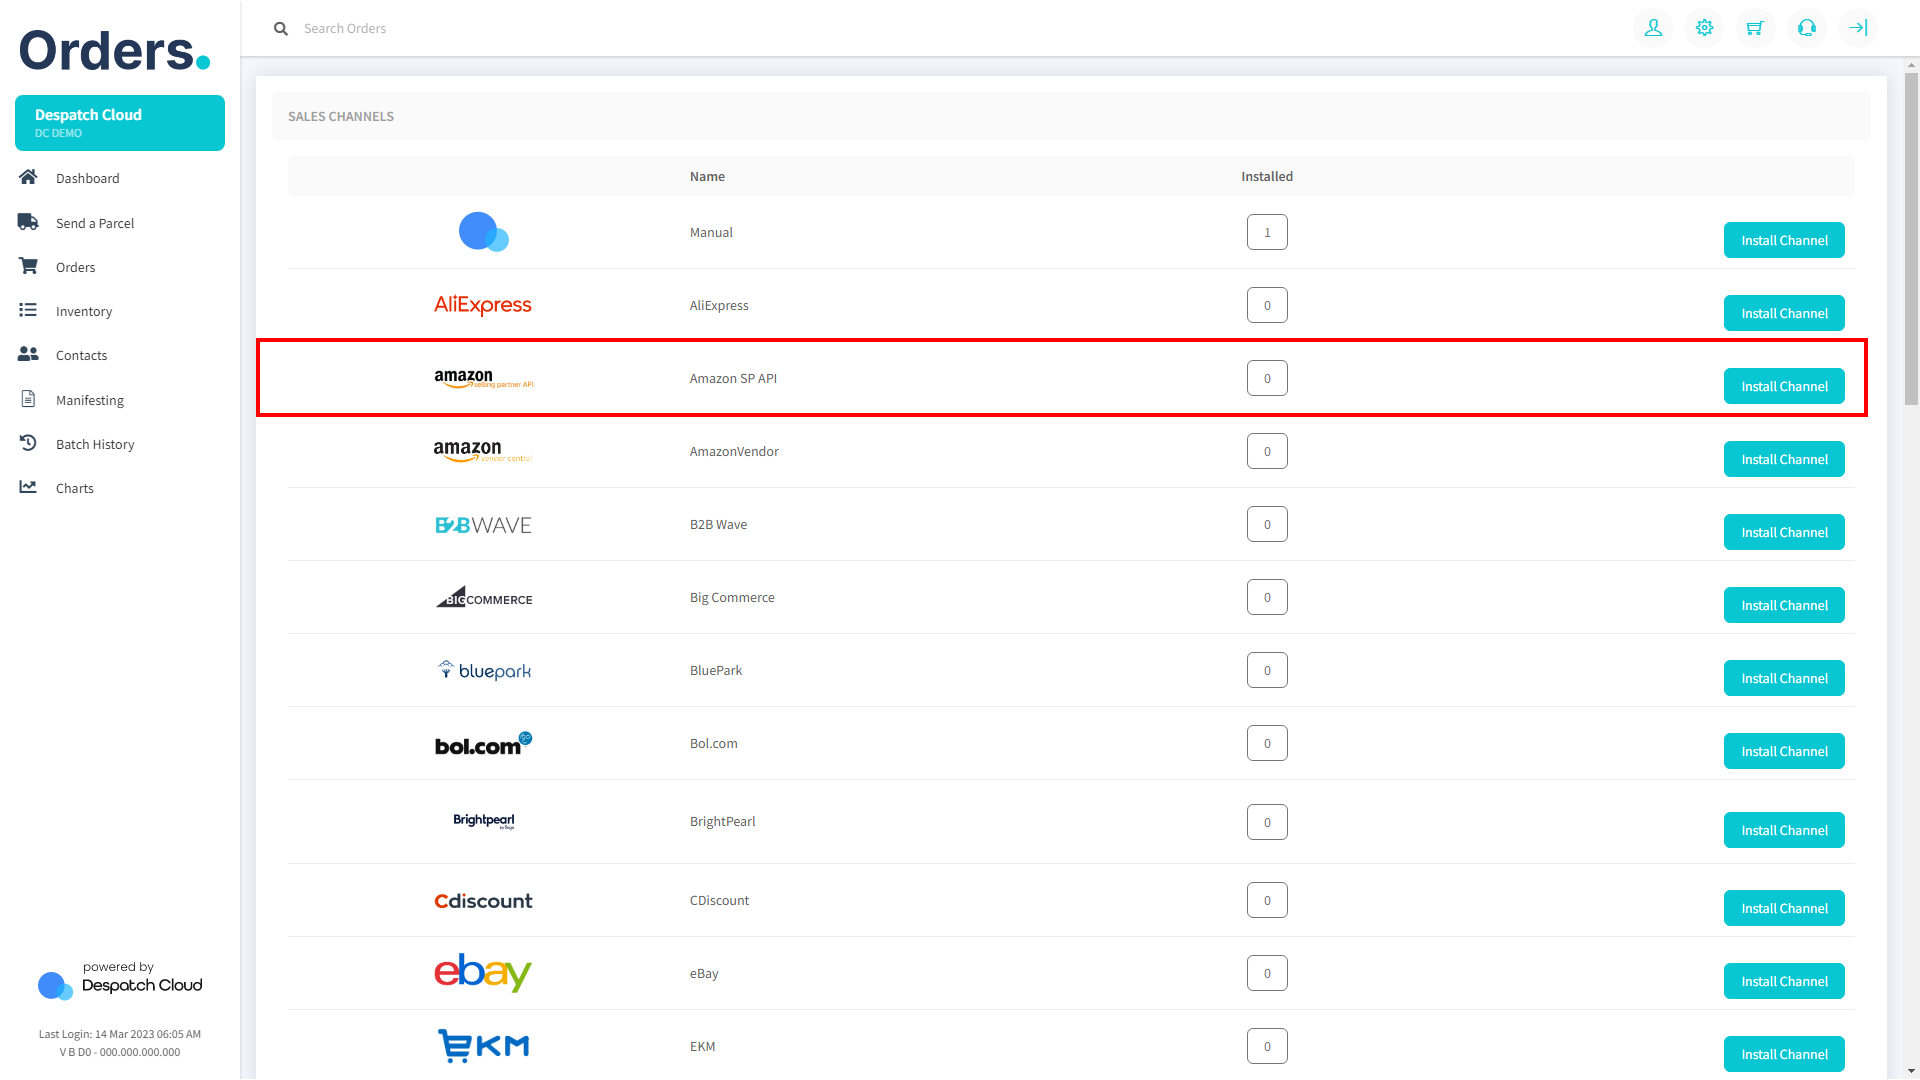
2. Once you are in the Sales Channels section, you will see a list of available integrations. Look for "Amazon SP API" and click the "Install Channel" button next to the Amazon SP API logo to proceed with the installation.
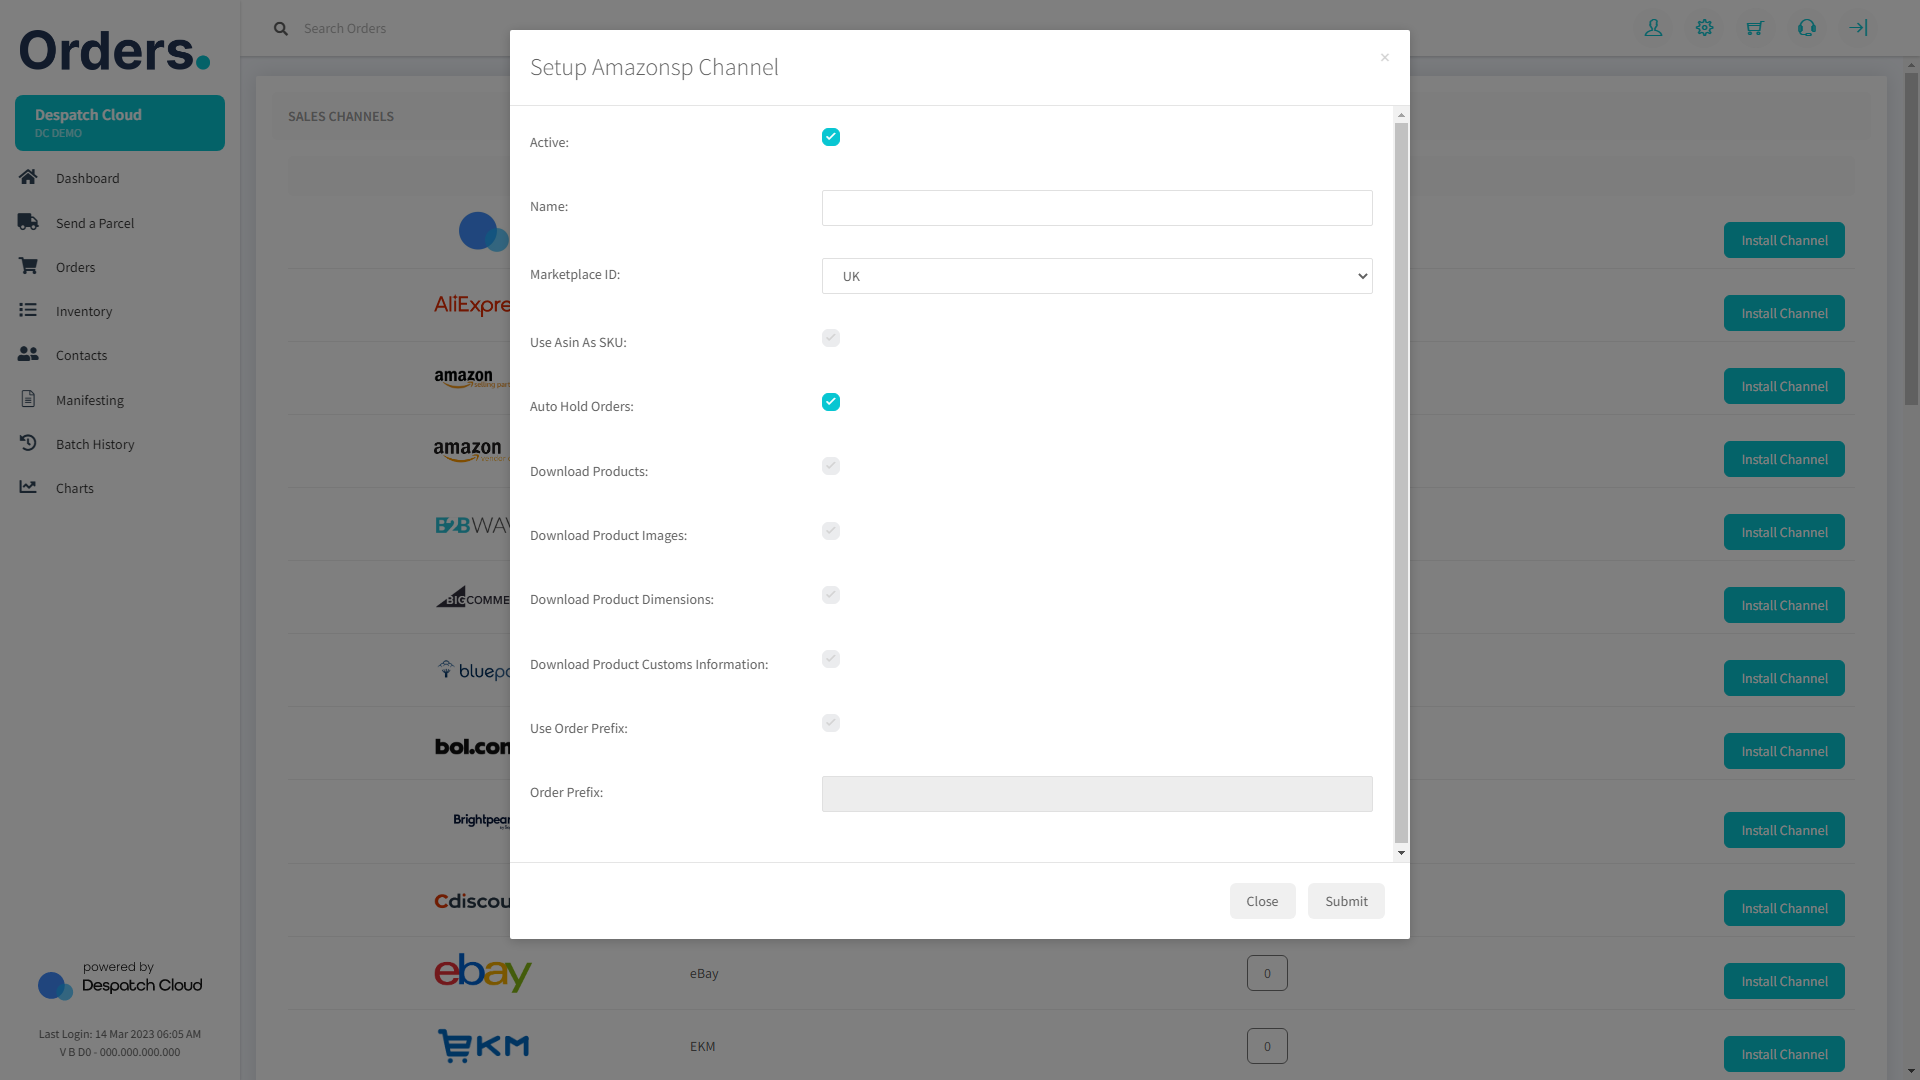
3. You will need to provide some information to complete the process.
- Name: You can enter any name you want, as long as it's not the same name you have used for a sales channel.
- Marketplace ID: Please choose the country where your store is registered from the options in the drop-down menu.
Once you have filled in the required fields, click on the "Submit" button at the bottom-right corner of the screen.
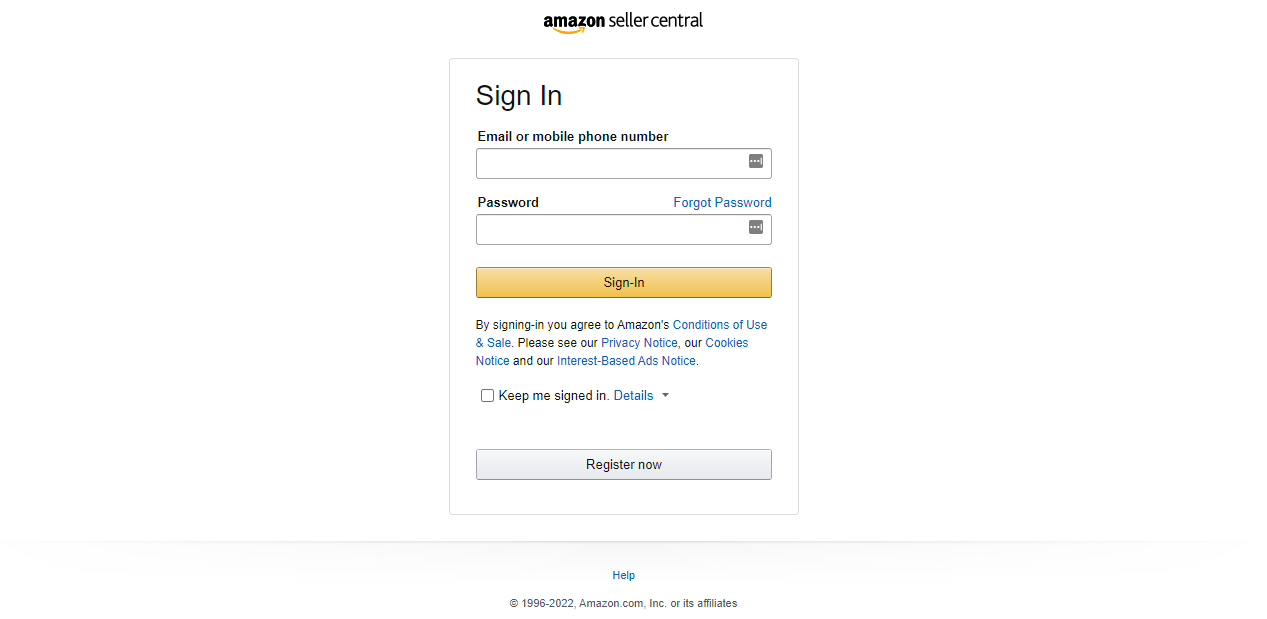
4. If you're accessing your Amazon seller account for the first time, clicking the "Submit" button will redirect you to the Amazon login page.
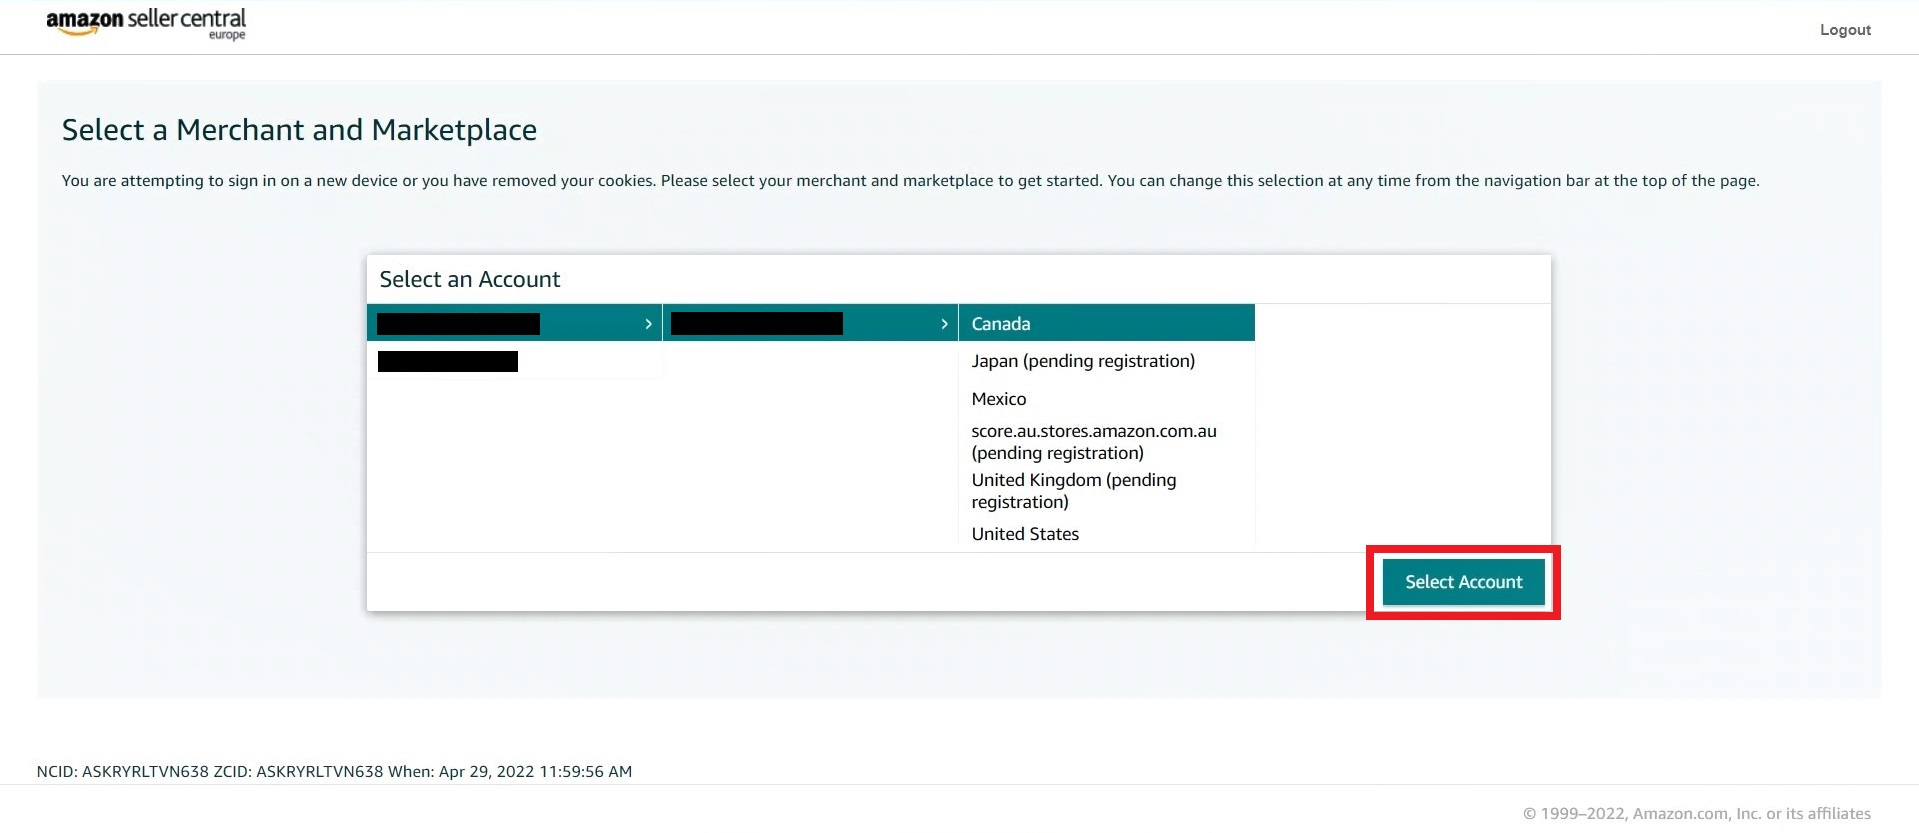
5. However, if you're already logged in to your Amazon account, you'll be directed to the page shown below.
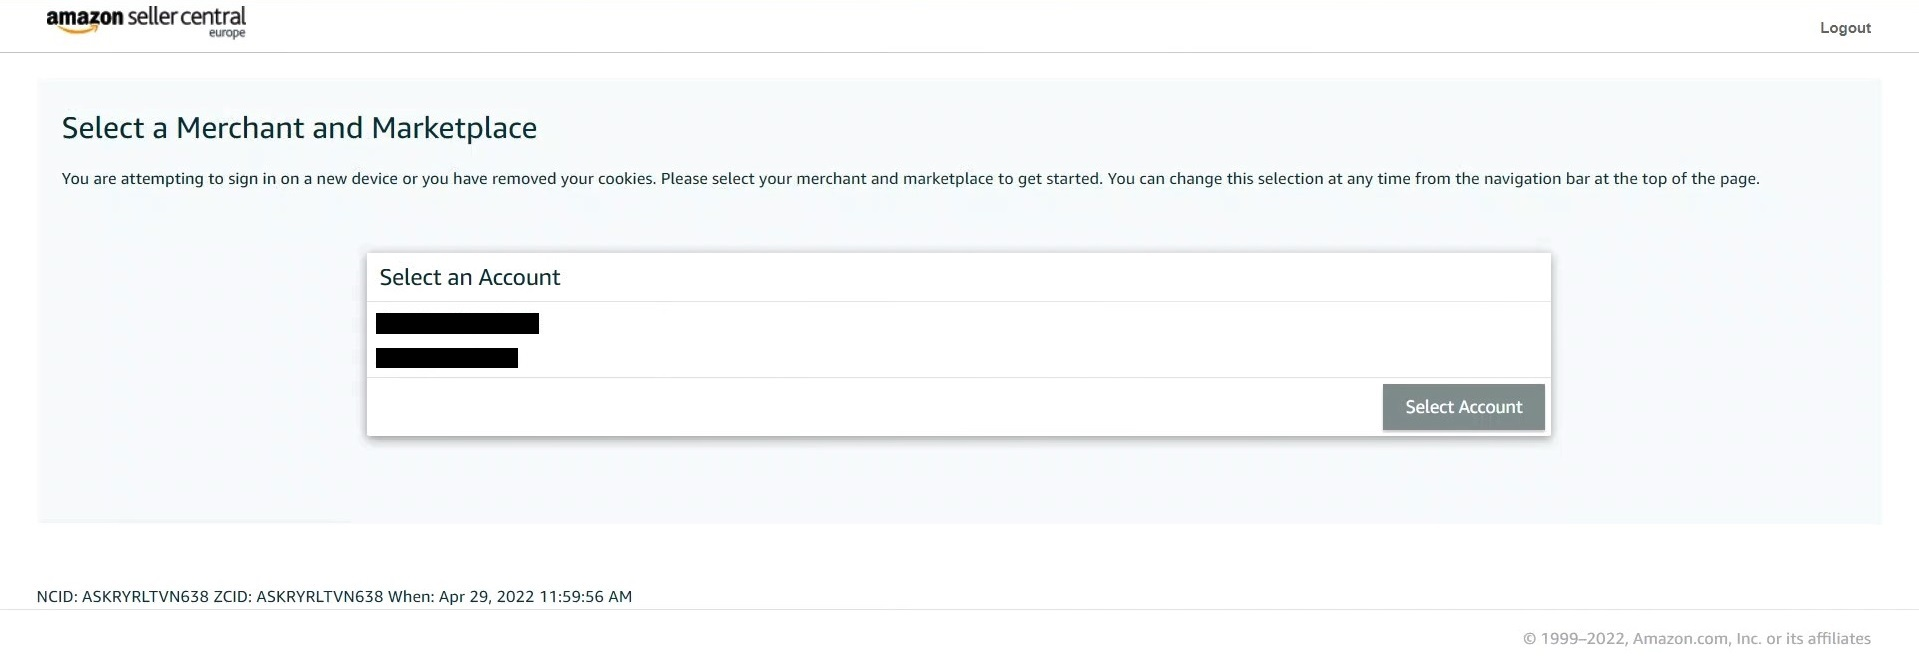
6. On this page, choose your Amazon account and the relevant marketplace, and then click on the "Select Account" button.
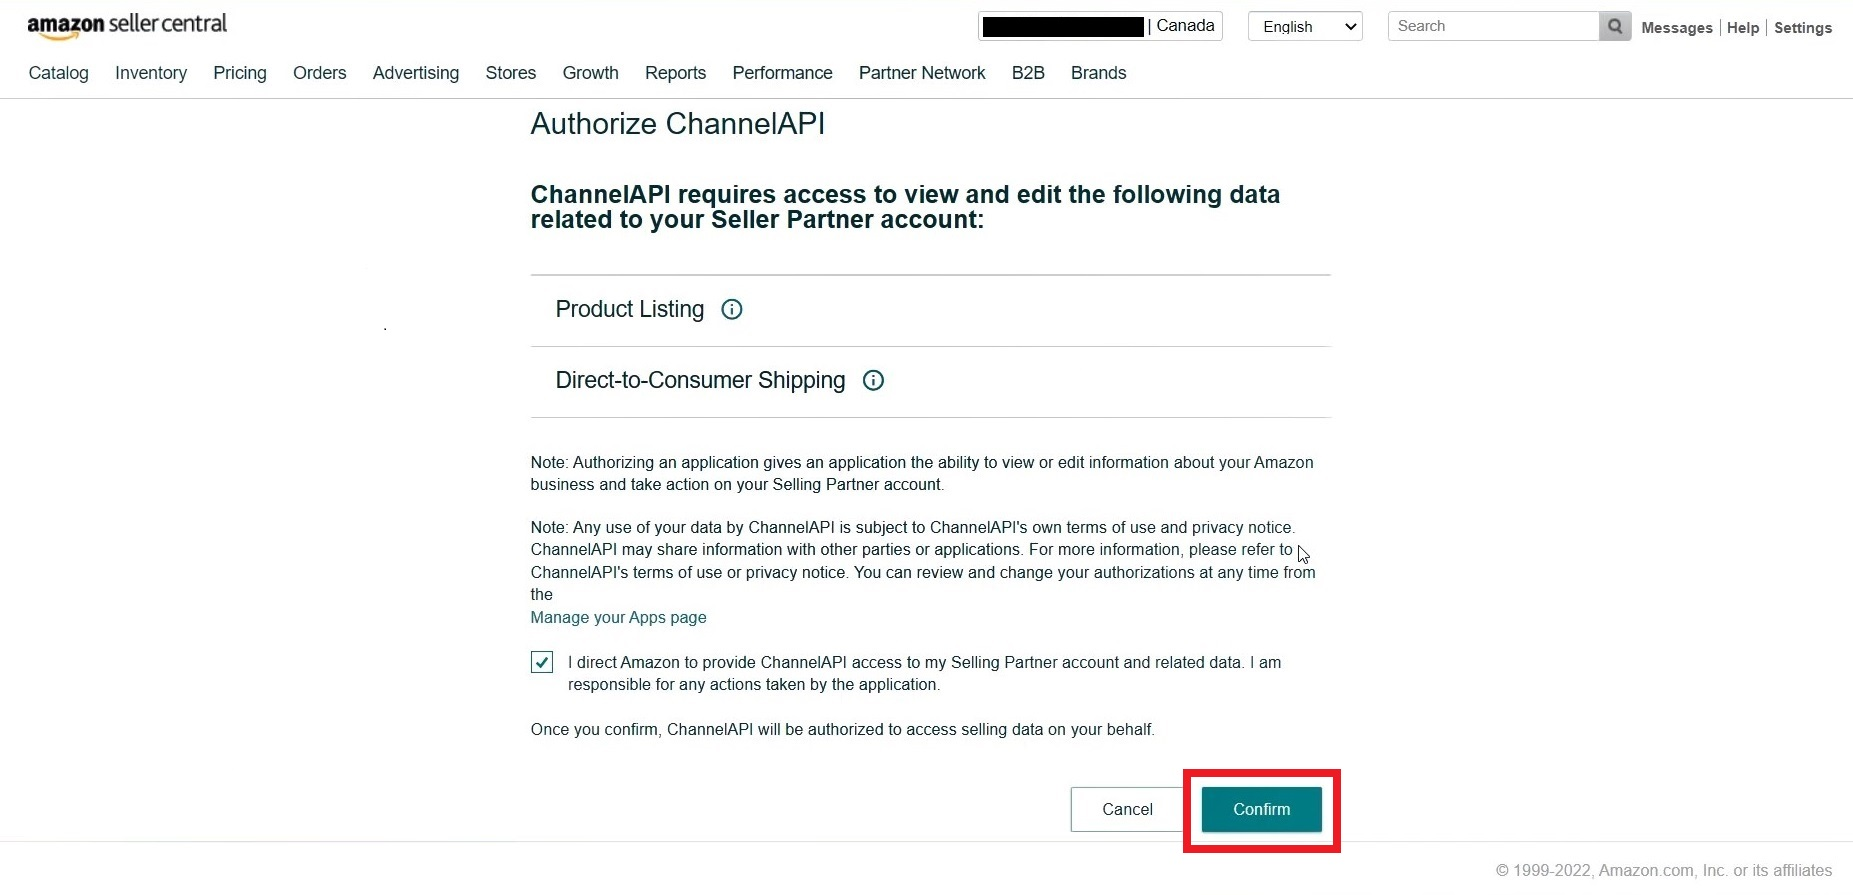
8. Wait for the authorization process to finish.
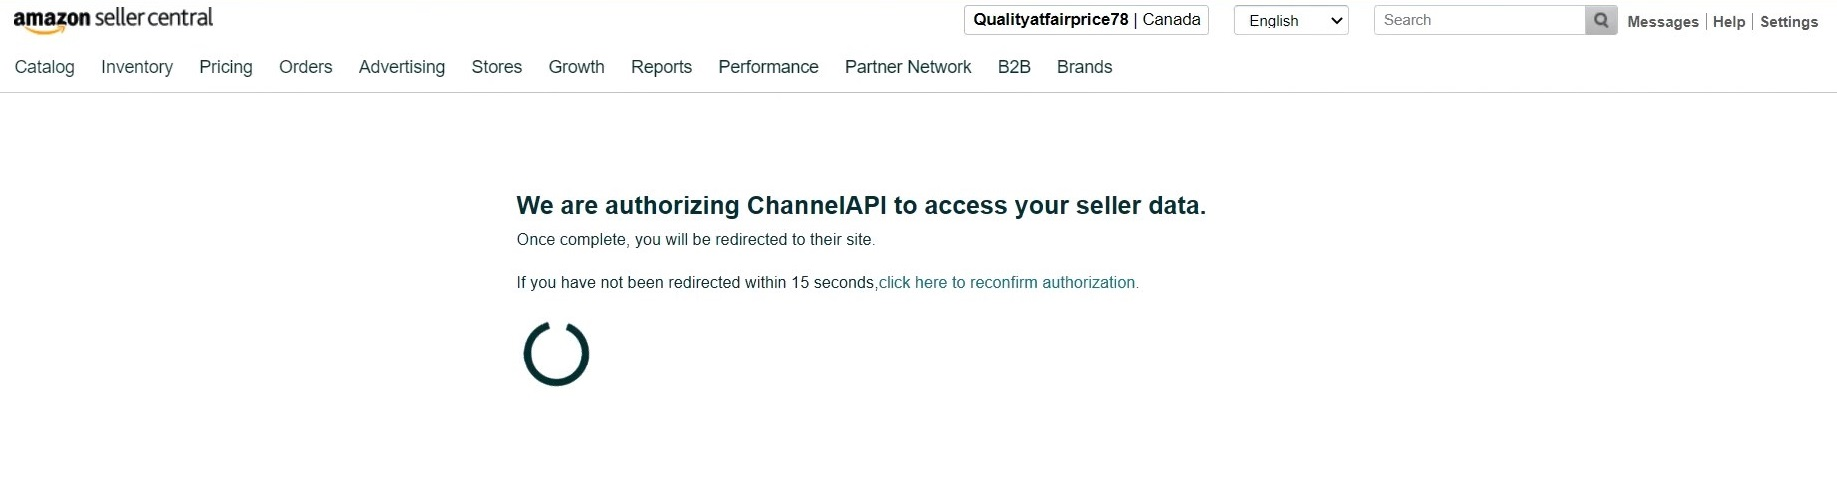
9. Congratulations! You have now successfully set up your Amazon SP API sales channel on Orders. You can now start selling your products on Amazon SP API and manage your orders directly from your Orders dashboard.