Throughout This Page
You can jump to the specified sections by clicking on these titles.
-
Overview
-
Introduction to Shipping
-
The API Account: Your Starting Point
-
Registering Your First Courier
-
Creating Smart Rules
Overview
This document outlines the essential first actions to take upon accessing your Shipping API account for the first time. We'll guide you through creating an API account, installing couriers, establishing smart shipping functionalities, and beyond.
Introduction to Shipping
Welcome to Shipping and your new home for courier label creation, tracking, troubleshooting and more.
We want to welcome you with some information about Shipping, how it helps your business be more efficient, and why using our platform is the right choice for your business.
First and foremost, Shipping is a translator of languages, not the spoken language but the language of code and the unfamiliar world of JSON, XML and other jargon that might not be your cup of Yorkshire Tea!
We have worked tirelessly to make the requests you send to us achieve two core things:
- Consistency:
- Each request conforms to a standardized format applicable to any courier service you prefer.
- Accessibility:
- Requests are presented comprehensibly and decipherable even to those devoid of technical prowess.
We take this simple request that you send to us and convert it into many formats and languages that the couriers need to receive so that you don’t have to. We also take their responses in all sorts of formats and standardise them for you so that what you send to us and receive back from us is always familiar.
With Shipping, you can make fast decisions to change course on a courier based on shipping parameters such as weight and postcode, collection days and times to switch between couriers based on pick-up time or what day it is or even by keywords such as Flat or Farm.
If a courier arrives at your doorstep offering great prices, there is no need to worry about IT integration. We already have the necessary APIs, and you can start using our services as soon as you fill out the account form. This way, you can save money on IT development resources and get the best optimization for your parcels based on their price and speed.
Our API is designed to securely register courier accounts without the need to pass sensitive credentials across the web. Instead of using courier account credentials, our system registers each courier with a friendly name, known as an "auth". If you have a single site, you can request the courier without specifying an auth. However, if you have multiple sites with multiple account numbers, you can assign each site a unique name, such as "Birmingham" or "Manchester", and link it to the corresponding account number. This ensures that your requests are directed to the correct account number without the need for sensitive information to be transmitted.
Your API user and token are guardians for your requests, accompanying each API transmission to us. Employing AES-256 encryption and multi-factor authentication, we fortify your data against unauthorized access, ensuring its integrity.
We're thrilled to embark on this journey with you and anticipate liberating your workflows from constraints.
The API Account: Your Starting Point
Before diving into features, setting up your API account within Shipping API is essential. This account is the foundation of your shipping operations, allowing you to access and utilize the platform's tools effectively. From label creation to shipment tracking, everything starts with your API account. It's the first step towards optimizing your logistics process.
For instance, you can create groups within Shipping API and assign API accounts accordingly. This feature proves particularly useful for businesses operating across multiple locations, allowing for more organized tracking and usage. Each API account can install couriers independently, ensuring that courier connections and settings are unique to the account. Also, by creating separate API accounts and groups for different locations or offices, businesses gain the flexibility to tailor their shipping solutions to specific needs. Grouping locations helps you better manage your workflow and simplify operations.
Refer to our dedicated API Accounts documentation for detailed guidance on setting up your API account and obtaining your token.
Registering Your First Courier
Now that you understand the basics of API user setup, let's walk through creating your first courier connection. Each API account can install couriers independently, ensuring that courier connections are unique to each account. This granular level of control enables you to tailor your shipping setup according to the specific needs of your business segments.
Whether you're registering a major carrier like DPD or setting up a local courier service, we'll guide you through the necessary steps to get your shipping operations up and running smoothly.
You'll discover comprehensive installation instructions for couriers in this documentation section.
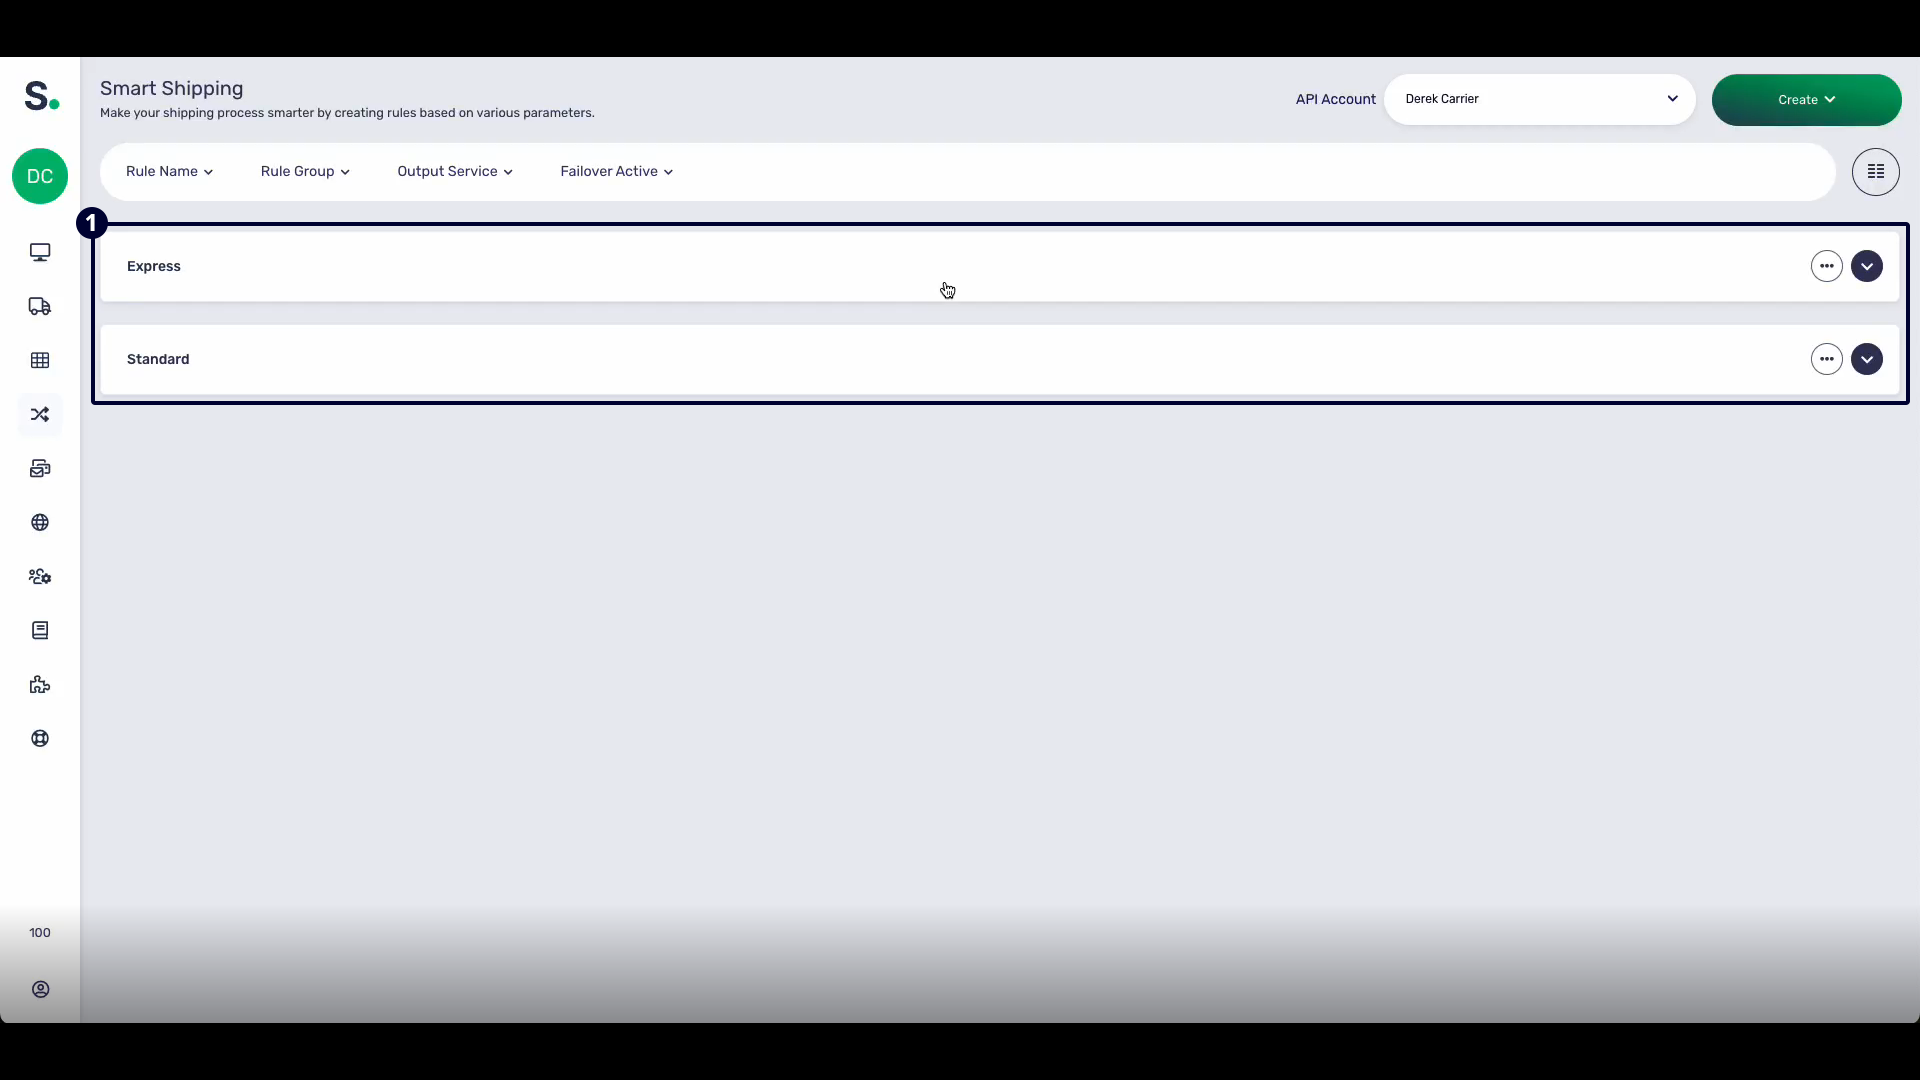
Creating Smart Rules
Once you've set up your courier services, the next step is to configure smart shipping.
Smart shipping offers businesses an efficient approach to managing logistics and parcel delivery operations. It also simplifies selecting carriers and services based on predefined criteria using a user-friendly interface and API integration.
You can create rule groups and smart rules to tailor your shipping strategies to specific needs within the smart shipping interface. This segmentation allows for precise control over shipping methodologies, catering to diverse customer preferences and optimising efficiency.
Let's delve into how smart shipping operates through a real-life scenario:
- To get started, let's establish two distinct smart groups: "Express" and "Standard". Imagine you handle a daily shipping volume of 1000 parcels, evenly divided between domestic and international destinations. Your courier services may differ, with "DPD Next Day" catering to express shipments and "Evri" or "Yodel" serving standard ones. By creating separate rule groups for express and standard shipments, you can tailor your shipping management to each specific category.
- Create a new smart rule within the "Standard" group. For this example, let's call it "Mainland" and assign it a priority of "1", indicating it's among the first rules to be executed.
- Define the parameters for this rule. Select "Supported Countries" and choose "United Kingdom" or your equivalent mainland country.
- Now, include the "Postcode" parameter to specify specific areas for your selected couriers. For instance, exclude Northern Ireland postcodes like "BT" for carriers like "Yodel" or "Evri" and opt for cheaper alternatives like "Royal Mail" for those regions.
- Consider the "Price" parameter. If using "Yodel", set the "Max Price" to £50, allowing for a 100% markup from the standard cost price of £25. It enables differentiation in courier selection based on parcel value.
- Integrate the "Booking Time" parameter. Suppose you have "Evri" and "Yodel" pickups scheduled at different times. Setting a time range like 9 am to 3 pm allows you to allocate couriers based on label creation time, ensuring efficient despatch without impacting packers.
- Incorporate parcel specifications. For instance, parcels can be limited to 3 kg by adding a "Parcel Weight" parameter with a "Max Weight" of 3 kg.
- Include dimensions by adding a "Dimensions" parameter. For example, set "Max Length" to 50 cm and "Max Width" to 0.113 cm, adhering to the courier's parcel size limits.
- Choose the courier from your API-integrated options listed under "Output Service". For the sake of this demonstration, let's opt for "Yodel". Next, select the desired account and then specify the courier service.
- Establish a "Failover Service" to designate a backup courier in the event the primary selection becomes unavailable. Follow the same steps as mentioned earlier: select the courier, then the desired account, and finally, the courier service.
-
Utilize the "Returns Service" option to generate return labels alongside shipping labels, thereby simplifying the return process for your customers. The selections follow the same order: first, choose the courier, then select the account you wish to use, and finally, pick the courier service.
Here's what this rule accomplishes:
- Verify whether the shipping address is within the UK.
- Ensures the postcode isn't listed in the excluded postcodes.
- Confirm the parcel price doesn't exceed £50.
- Validates that the booking time falls between 9 am and 3 pm.
- Check that the parcel weight doesn't surpass 3 kg.
- Ensures the parcel length is under 50 cm and the maximum volume is less than or equal to 0.113 cm.
Parcels meeting these conditions will be despatched using the courier you've designated. You have the flexibility to tailor these rules to suit your specific requirements and create bespoke smart rules.
For instance, suppose you come across a courier offering better rates. In that case, you can simply edit the existing smart rule you've set up and switch to the new courier without altering any predefined rules.
Please refer to our dedicated documentation page for comprehensive information on available filters and detailed guidance on creating smart rules.